studio on Design*Sponge

My summer studio transformation was featured on Design*Sponge yesterday. Thanks to people for their kind comments. Some common questions kept arising, so I thought I would address them here and post a few more photos for clarification.
I’m paraphrasing some of the questions and include responses below:
1) I see a bunch of art supplies in the “before” (read: ridiculously messy) image; where did they all go?
Well, this image was taken awhile ago. It was the only image I had that showed this much of the space from the doorway. I guess I was never happy enough with my studio want to photograph it. I may have hoarding tendencies, but most people who know me know that I am actually a pretty neat and organized person. I probably took this photo because of the remarkably messy state of the studio. As I recall I was framing and shipping a batch of drawings all while completing the mammoth task of my third year document (pre-tenure) document for school (I teach at a local university).
Anyway, here are some images of organization and storage solutions, i.e. where I put a lot of that stuff (the stuff I didn’t haul away, discard, take to the basement, etc.):
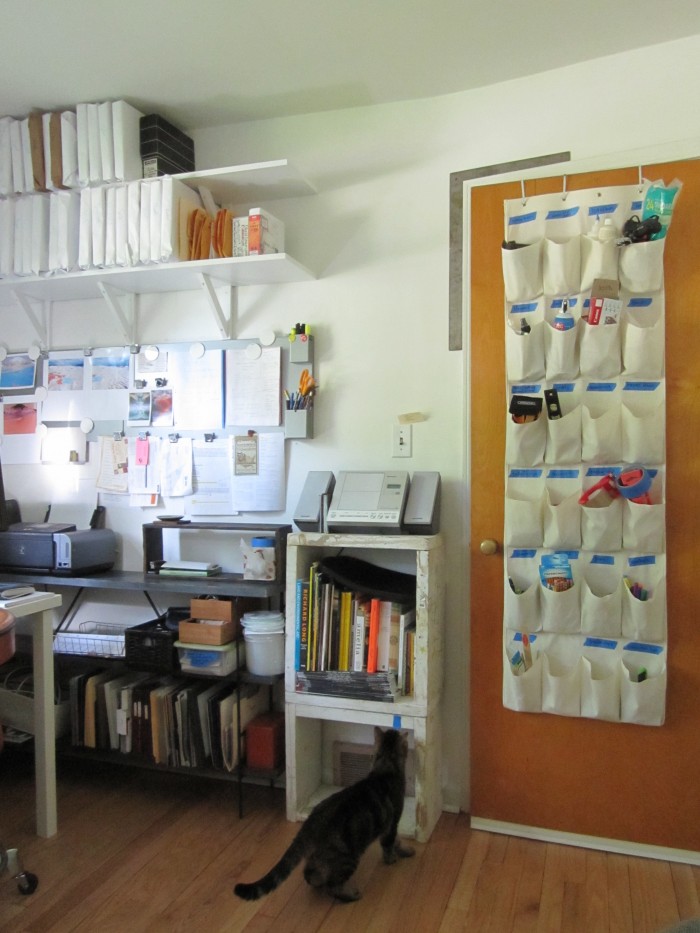
The shelves we built now hold my small framed work and much of my paper work and application supplies are vertically filed on the gray-ish blue shelf under the Ikea magnetic boards. The shoe organizer holds all of my office supplies and other random stuff like my glue gun and glue sticks (all with blue tape labels). That’s Wobbly Bob, one of our cats.
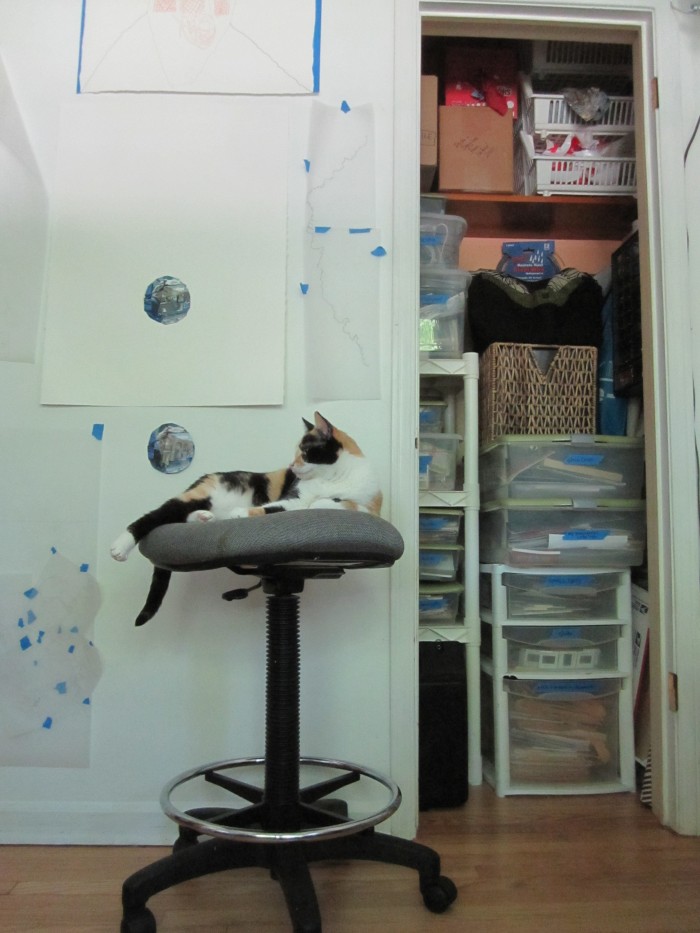
I used the closet to house cans of paint, a wall-mounted drawer system for organizing small hardware, and many labeled plastic crates, totes and drawers for various odds and ends, all categorized. I took off the closet door to have easier access to all of this stuff and to reveal more wall space for hanging work.
Also, that’s Ramona, and that’s her chair. I can’t take it out of the studio for fear that she would perish of sadness, as it’s her favorite place to be ever. I should mention that I have no personal need for this chair anymore since it’s too tall for my work surfaces. So in my highly efficient new studio, I have a chair just for a cat. At least it keeps her from walking all over my drawings.
2) How in the heck did you do all of that with a 500.00 budget (also where did you get your flat files)?
I put together a budget afterward to see what I had tallied. Here’s how it breaks down:
-Wood/doors–used for the table tops
(Home Depot): 115.
-Table legs and brackets x6 (”): 60.
-Paint: (Benjamin Moore): 50.
-Flat file (craigslist): 160.
-Small file cabinet (local Re-use center): 10.
-Sandpaper, paint rollers, casters, etc. 100.
About: 500.
We designed our own shelves and supports, but you can find some pretty great pre-made shelves and brackets out there. I first sanded and primed, then sanded and painted the worktable and shelves with Benjamin Moore’s GRAHAM Ceramic Satin Interior water borne enamel in Decorators White. Little foam paint rollers gave the surfaces a pretty smooth finish.
I looked all summer for a flat file on craigslist. I found one that was the right size for my small studio (in the bedroom of our ranch house) for a decent price. It’s precisely: 40-3/4″ W x 28-3/8″ D x 15-3/8″ H. It had to be cleaned up a bit, but serves my purposes perfectly.
3) (From Lauren) Can I have your sweet orange chair when you’re done with it?
Yes. And I probably won’t be. I’ll will it to you though. It’s from the University of Michigan’s very excellent property disposition center–from their dental school I think. It cost about 15 dollars as I recall and badly needs to be reupholstered.
4) It looks too clean now; where did your mess go?
Naturally I took the photos at the completion of the project when everything was shiny and pretty. Now that I have had some time to live in it, there are little scuffs on the tables and my stuff is getting spread out everywhere again. When I want to reign it in between projects though, it’s that much easier now. Here are some images of my slightly more lived-in space with drawings in progress:
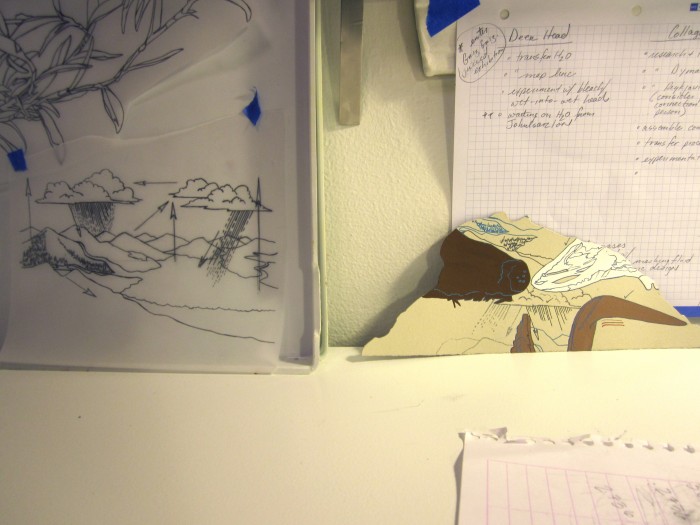
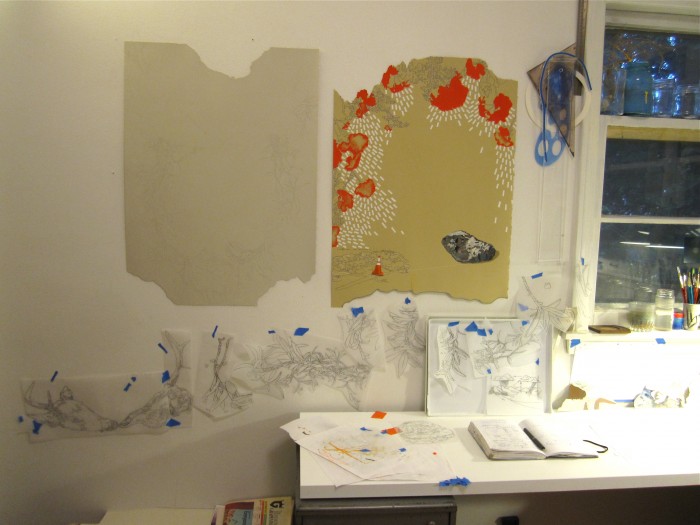
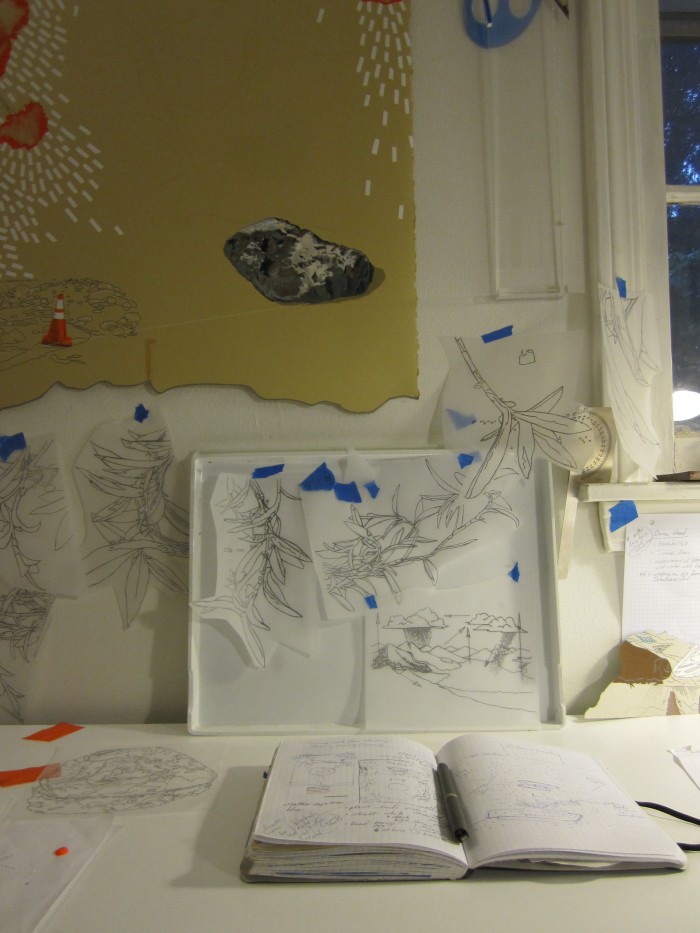
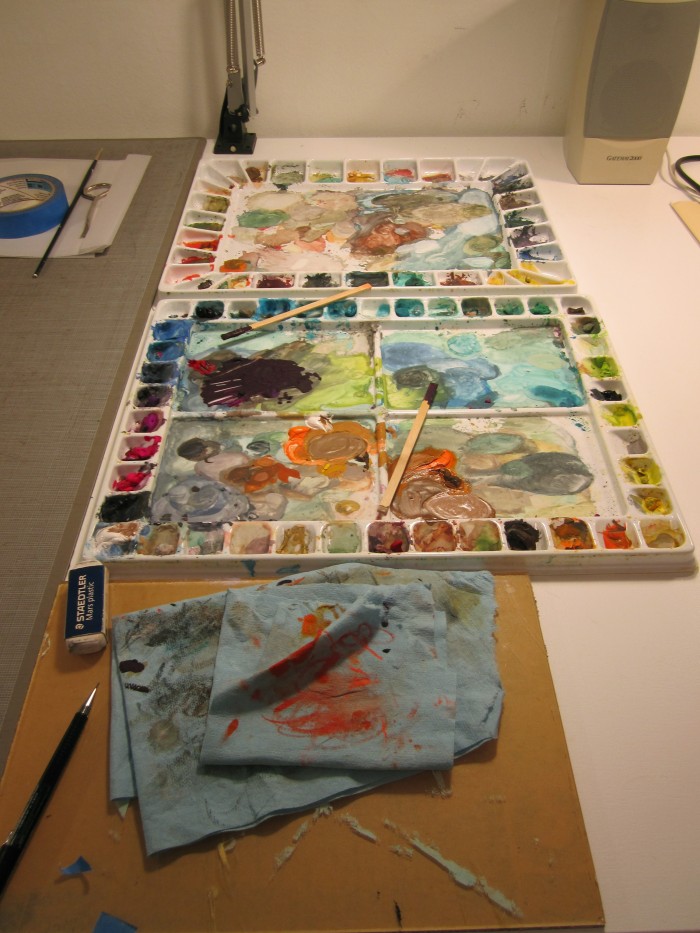
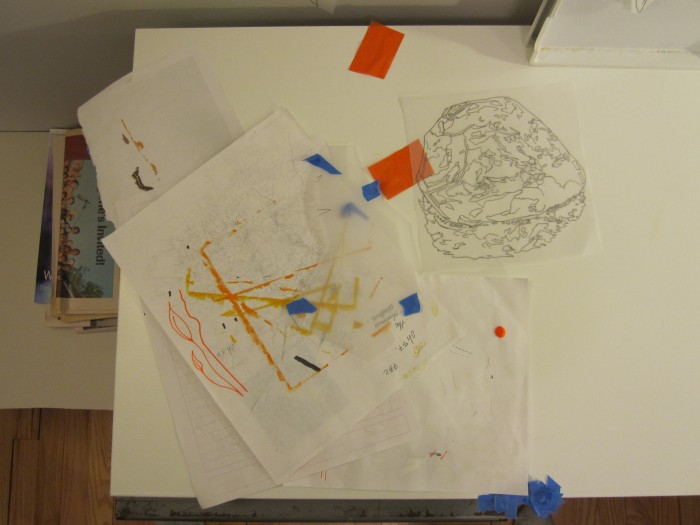
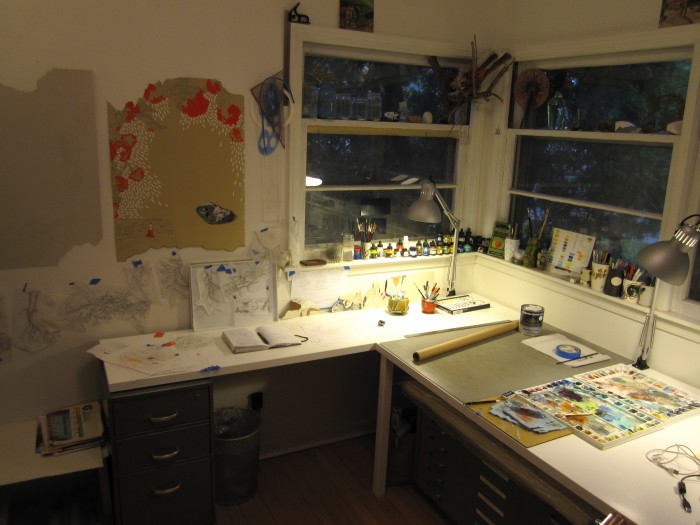
After the craziness of the start of school, having friends in town for labor day weekend and some traveling this weekend to drop off work for a show, I finally get to spend Tuesday all day long in this space. I can’t wait. I promise to make it even messier.
I like this because it is realistic! So many “before & after” type rooms don’t look used or lived-in…which I know makes for the best photography. So, it was refreshing to see your awesome studio. I live like you do & this gives me hope that I can wrangle my piles & mess as well…
September 12th, 2011 at 9:32 amCheers!
Ahhh much better. I saw your studio on apartment therapy and I liked it but it seemed so stark since there was no work out. To me, it’s all the more appealing with a few sketches taped up and some paints out. I have a tiny studio which I’m currently not even working out of because it’s so cluttered. This is inspiring me to clean my space out as well! Happy painting!
September 20th, 2011 at 11:25 amWhere does Wobbly Bob sleep?
October 27th, 2011 at 2:28 amI saw this on Design Sponge and of course didn’t know if was you! Very cool Amy.
January 22nd, 2012 at 11:09 am